So in my quest to replace my Mac-based PVR I wanted something lightweight that could be controlled via a remote. I had issues with my current setup when a keyboard or a mouse just had to be used, and I wanted to avoid that. Since this system would be dedicated to the PVR, I didn’t want to install anything that wasn’t necessary.
This left me two options: Kodi (formerly XBMC) and MythTV. I decided to try out Kodi via the OpenELEC project. OpenELEC aims to create a very lightweight instance of Kodi that can be installed (and probably even run) from a USB stick. Sounded like just want I needed.
The easiest way it install OpenELEC is to create a bootable install USB stick. This is pretty easy, if you read the instructions correctly. I actually spent a lot more time on this than I needed because of a failure to do so. Once you download the image you need (I used the new bundled “generic” version which works with Intel-based devices as well as most others), you insert your USB stick and then run the “create_livestick” command. You pass a parameter to that command which indicates the path to the USB stick, i.e. /dev/sdX where X is the drive letter.
This is where I screwed up. I could easily tell that the stick I used was mounted on /dev/sdh1, so that’s what I used. The problem was by adding the “1” I was specifying a partition and not the whole drive. It took me an embarrassingly long time to figure out what I was doing wrong.
Once the stick was created, I just booted the Intel NUC with it and followed the on-screen instructions. Pretty soon I had a working OpenELEC system.
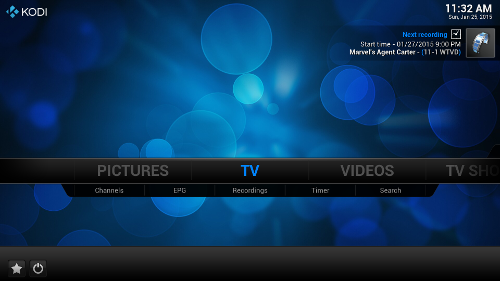
Now let me stress that OpenELEC is not designed as a dedicated video recorder. It is designed to run Kodi which is a media center, so most of its functions are aimed at managing libraries of media and not recording television. The menu is organized by media type:
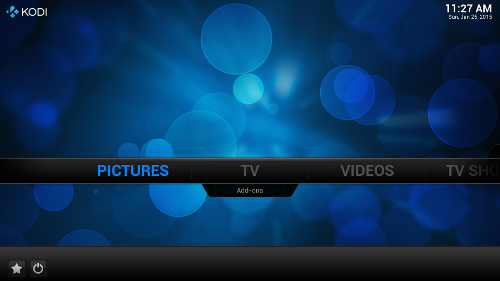
You have a Pictures menu, and if you have the PVR add-ons installed, a TV menu item. Videos are movies, whereas TV Shows are media files that have been identified as TV Shows (different than things you have recorded on your PVR).
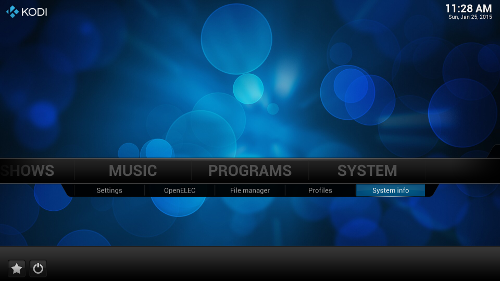
Then you have your Music files, any Programs you have added to the system (as in software programs) and the System menu itself.
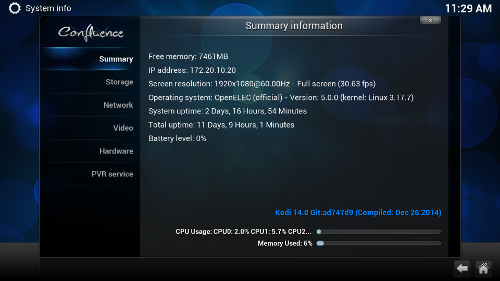
The system information screen gives you a read-only overview of the system, including memory usage and frames per second.
To actually change things you need to go to the configuration menu:
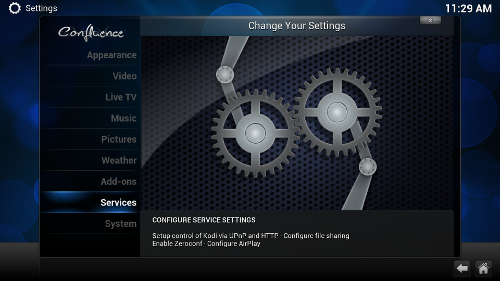
You can add media sources via pretty much every network protocol currently in use. As I have a couple of UPnP servers on my home network I used that format, but I found that when I added new content the system wouldn’t pick up the changes. So I installed an add-on to update my library but it didn’t help:
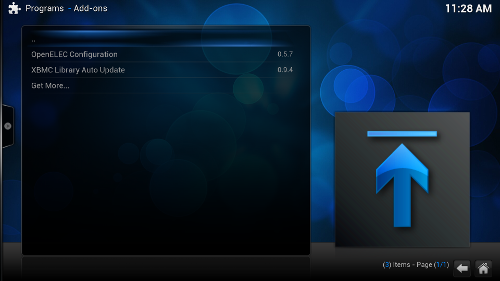
I searched but couldn’t find any way to get the changes to show up. There is a menu that comes up when you hit the left arrow that is supposed to update the library but it wouldn’t work for me. Since my UPnP servers can also serve files over SMB, I tried that and it not only fixed the issue but opened up a whole new level of coolness.
You can scan for TV Shows in your media files, and when you do Kodi will try to “scrape” information off of the Internet for such things as artwork and episode synopsis. You have to have your library named in a particular fashion (which I do) but then it is pretty automatic:
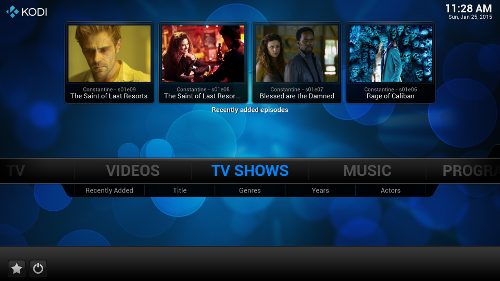
This didn’t happen when I was using UPnP.
This is all well and good, but I still get a lot of content through Over the Air (OTA) television broadcasts and the whole purpose of this exercise was to get that working. In order to add PVR functionality to OpenELEC you need to install add-ons. This usually consists of a “backend” application that does all of the heavy lifting with respect to video capture and encoding, and a “frontend” or client application that connects with the backend and displays the video. I specifically chose more powerful hardware as I wanted both features on the same unit.
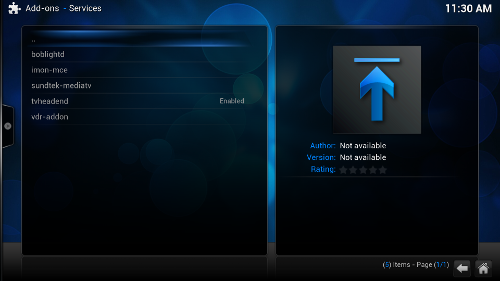
First I needed to install the backend, which is a piece of software called “Tvheadend“. It was a little hard to find in the menus as it is a “service” and not a normal add-on, so you have to find the “services” section of the add-ons menu:
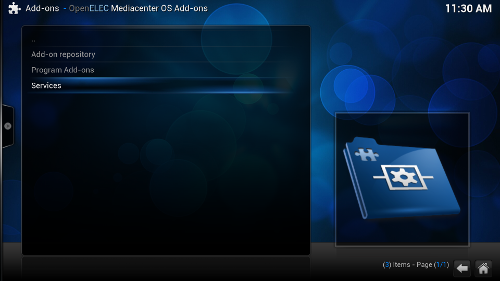
and then you can find and enable your services:
Like most add-ons within Kodi, you will have an “information” screen:
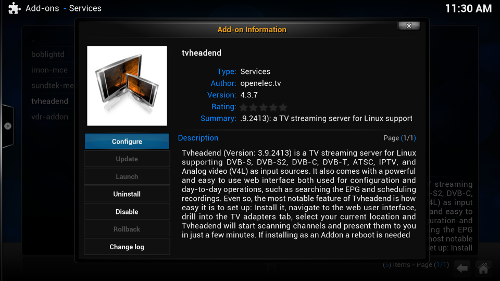
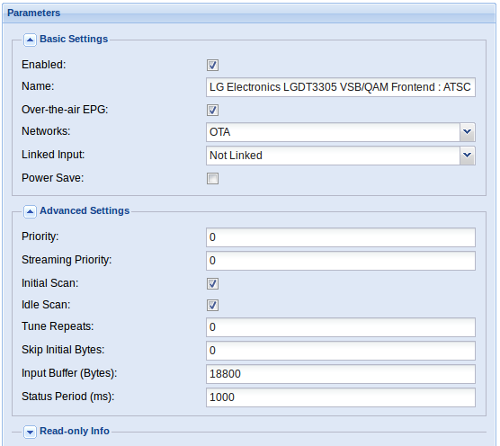
and a configuration screen:
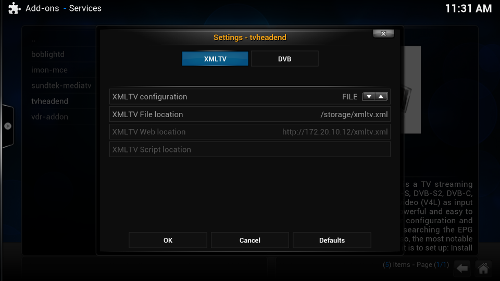
The configuration screen comes into play when you set up the Electronic Program Guide (EPG) but I’ve reserved that for a separate post.
To access the Tvheadend software, you have to browse to it via http://[openelec-server]:9981. That would be a different URL, of course, if you installed it on a server other than the OpenELEC box. This is where it got difficult as most of the documentation on-line is out of date and the menu options have changed. I’ll post what I did in the hope that it might help someone else out.
First, you want to go to the Configuration tab:
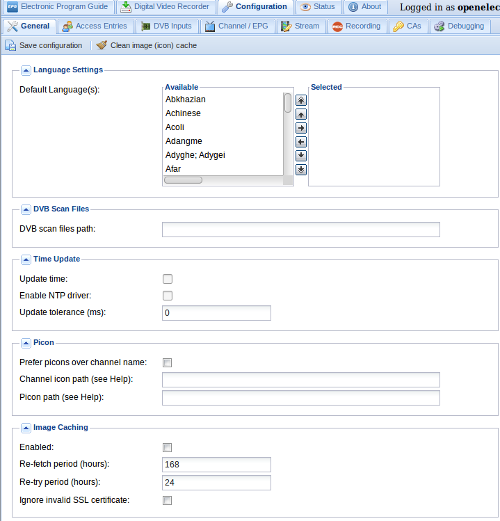
You don’t have to do anything on the “General” tab if you don’t want to, but you do need to see a TV capture device on the “DVB Inputs” tab:
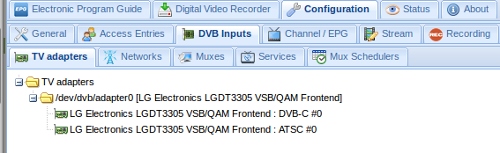
If you have chosen a supported capture unit, it should be displayed here. If not you’ll need to either figure out why it isn’t or get another unit. My Kworld UB435-Q showed up with support for both DVB-C and ATSC formats. Since I am interested in OTA broadcasts in the United States, I chose to enable the ATSC interface as the other is used for cable, which I don’t have.
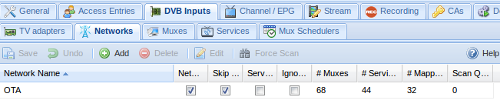
Note in this screenshot that there is a Network entry called “OTA”. This was not there when I first enabled the interface. I had to go and set it up on the “Networks” tab and then add it.
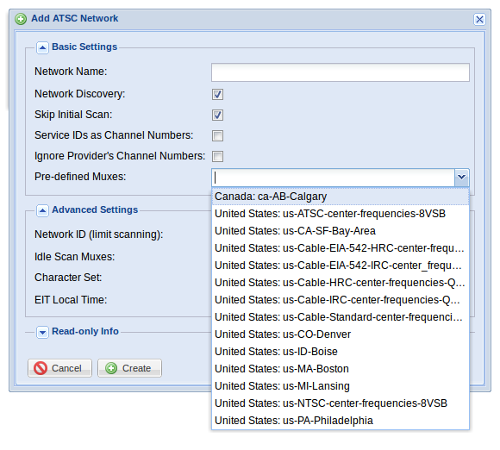
This took me a rather long time to figure out. You need to tell the Network what multiplexers to use, and it looks like you would need to add them individually under the “Muxes” tab. It turns out that there are a number of pre-defined muxes including one for North America ATSC called “United States: us-ATSC-center-frequencies-8VSB” so I just chose that for my “OTA” network:
Once I associated it with my adapter in the “DVB Inputs” tab, I had a list of television channels:
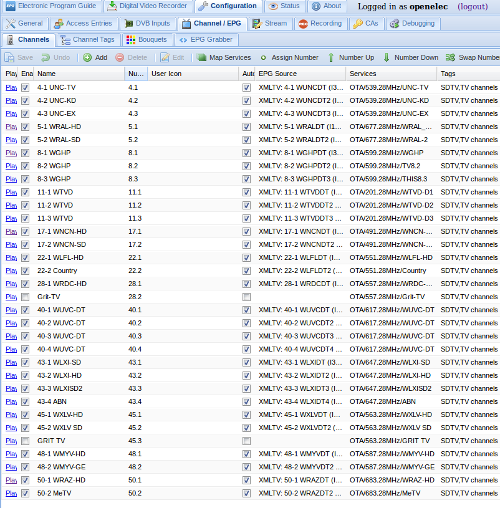
Tvheadend is pretty cool on its own. If you notice on the screenshot there is a “play” button next to the channel name and if you click it you get a stream that will play on your computer. We recently had a bad weather day and I worked from home, and I was able to keep the local news up in a window while I worked. I haven’t really explored all of the features of Tvheadend, but once I got to this point it was time to head back to OpenELEC and set up the frontend client.
Going back to the configuration menu and looking through the Kodi add-ons, there is a section called “PVR Clients”:
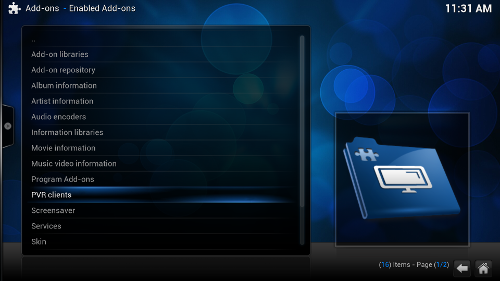
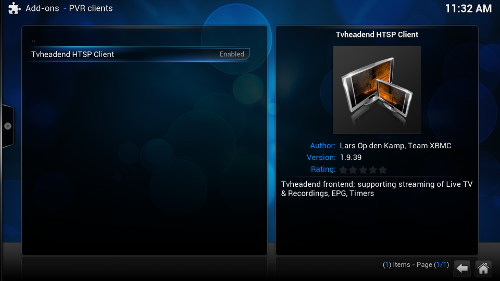
I wanted the Tvheadend HTSP client:
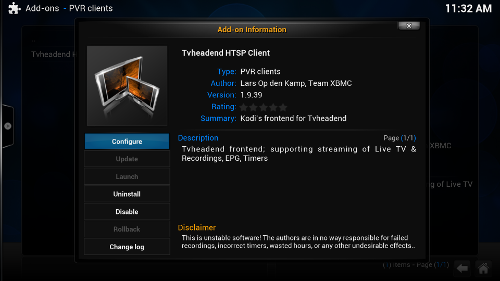
Just like the backend, there is an information screen:
and a configuration screen:
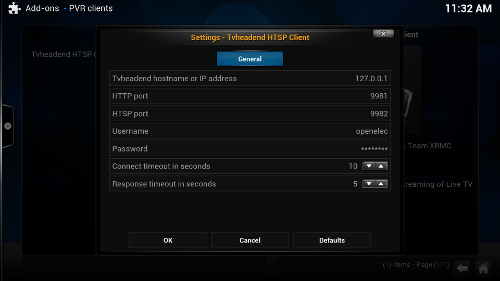
In this configuration screen, you have to point to the Tvheadend backend, which in my case is on localhost.
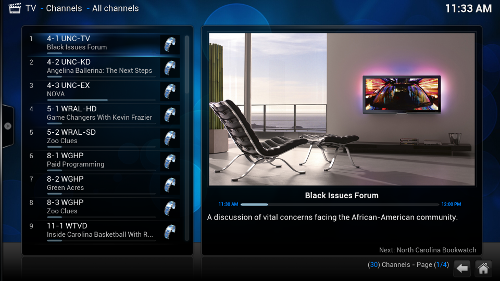
If you get to this point, then you should see a new “TV” menu item:
You can watch live TV:
But the main reason I wanted a PVR was to time shift and store TV programs so that I could a) skip the commercials and b) make sure I didn’t miss anything. This requires access to the Electronic Program Guide and I could not figure out how to get it to work. I spend days worth of my limited free time working on this. The forums and the existing documentation were not much help.
I got so frustrated that I based the system and installed Mythbuntu – an Ubuntu-based distribution that focuses on MythTV in the same fashion OpenELEC focuses on Kodi. I figured that since MythTV was designed to be a PVR from the start, it might be easier.
There were a number of differences apparent right away. Mythbuntu is huge compared to OpenELEC. It includes a number of things that just aren’t required. It was, however, easy to install, and building on my newly earned knowledge with OpenELEC I was able to navigate the initial setup easily. I found that the MythTV documentation was slightly better than OpenELEC/Kodi/Tvheadend, but I still hit snags.
The first was that MythTV wouldn’t recognize the Kworld tuner I was using. It did, however, see the EyeTV tuner from my Mac-based install. But using it and having it scan for channels turned up nothing. The channel scan seemed to complete as expected but nothing was discovered.
I spent another day’s worth of free time trying to get that to work, but I gave up pretty easily. I wanted to use the Kworld tuner and possibly sell the EyeTV unit, so it bothered me that it wasn’t recognized. Plus, Mythbuntu just wasn’t the lightweight install I wanted, so I decided to go back to OpenELEC.
I did finally get the EPG working, but I’m going to reserve that story for the third and final post in this series. Once that happened I could see the guide in OpenELEC:
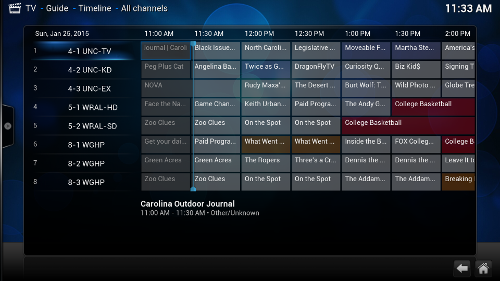
Yay!
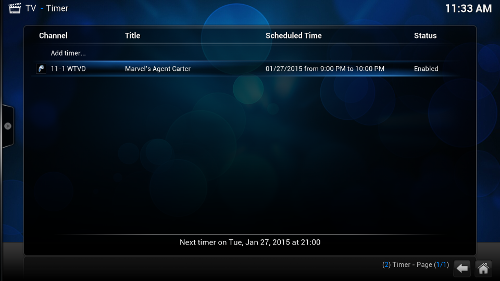
Is it perfect? No. The OpenELEC TV frontend is pretty limited. While I can schedule a show for recording through the EPG by setting a “timer”, I have not found a way through the GUI to record a whole series. I can do it through the Tvheadend web interface by selecting the show in the EPG and choosing “Record Series”:
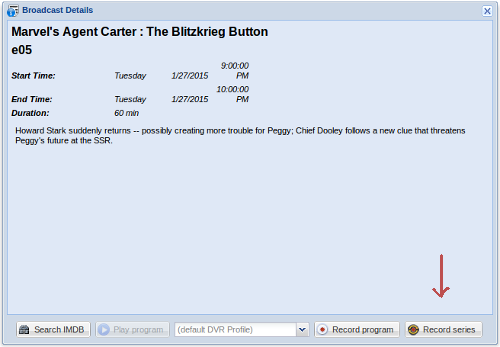
and then it will show up on the “Timers” section of OpenELEC:
You can access saved recordings through the menu as well:
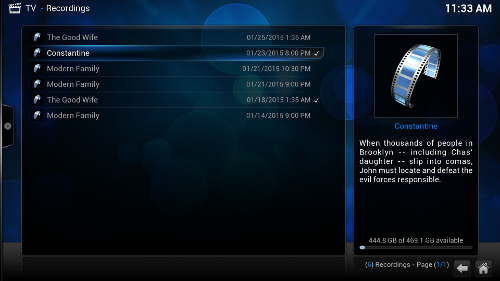
but it frustrates me that there doesn’t seem to be a way to delete the recording once I’ve seen it. I have to do that through the Tvheadend web page.
(sigh)
Overall I’m happy with my new OpenELEC Kodi install. There are a large number of add-ons that I haven’t explored yet, and perhaps I’ll have the time one day. When I was younger and got a new piece of technology I would try out every single feature. Now I tend to do the bare minimum I need to have a viable solution and then stop. (grin)
If you don’t care about OTA television then OpenELEC is a breeze to set up. The only issue I see is that there are a number of closed solutions, such as Google’s Chromecast and Amazon’s FireTV that do pretty much the same thing, at least with respect to video, and they cost about as much as a nice meal versus several hundred dollars.
But I like OTA television. Between it and other services I have like Netflix and Amazon Prime Instant Video, I always have something to watch. Plus, OTA HDTV signals aren’t compressed like those from cable and satellite providers, so the quality is excellent.
This experiment to create an open source PVR both emphasizes the good and the bad about free software. I consider myself pretty technically savvy but I had a lot of issues getting this to work. But I also learned a whole lot about four open source communities (OpenELEC, Kodi, Tvheadend and MythTV) and how OTA television actually works. My PVR is not some magical black box but a tool that I can control and manipulate to my benefit.
Technology is key to personal freedom and ceding the understanding of how it works to third parties can be dangerous. I know it sounds silly to sow fear about something as trivial as the ability to record “The Big Bang Theory“, but rarely does societal change happen in a huge way all at once. It is more a series of small things, chipping away at our freedoms over time, and getting this to work just made me feel like, at least in my life, that I was making a difference.
Many thanks to the people behind OpenELEC, Kodi, Tvheadend and their communities for making this possible.